


Tight on space but big on style? How to Divide Your HDB Living and Dining Room with a Smart Island Bar?Many Singaporean homeowners face the classic HDB layout conundrum: an open-concept living and dining area that's functional but feels undivided. You crave distinct zones without boxing everything in with walls. That’s where a smart island bar isn't just a trendy addition; it becomes an essential piece of liveable spatial architecture. Based on observed preferences in compact homes and recent design trends favouring flexible zones and multi-functional furniture, installing one is a viable solution. This guide dives into practical strategies for seamlessly integrating this versatile feature into your specific HDB flat layout.
Strategic Benefits: Maximising Every Inch Beyond Partitioning
Think a kitchen island bar is just about creating a visual barrier? Think again. Its functionality in a Singaporean HDB is remarkably layered. Primarily, it establishes clear, practical zones – the lounge area for relaxation and entertaining guests distinct from the dining space. Crucially, it achieves this without sacrificing the airy openness cherished in smaller floor plans. No solid walls mean precious natural light flows unimpeded, keeping the home feeling spacious.
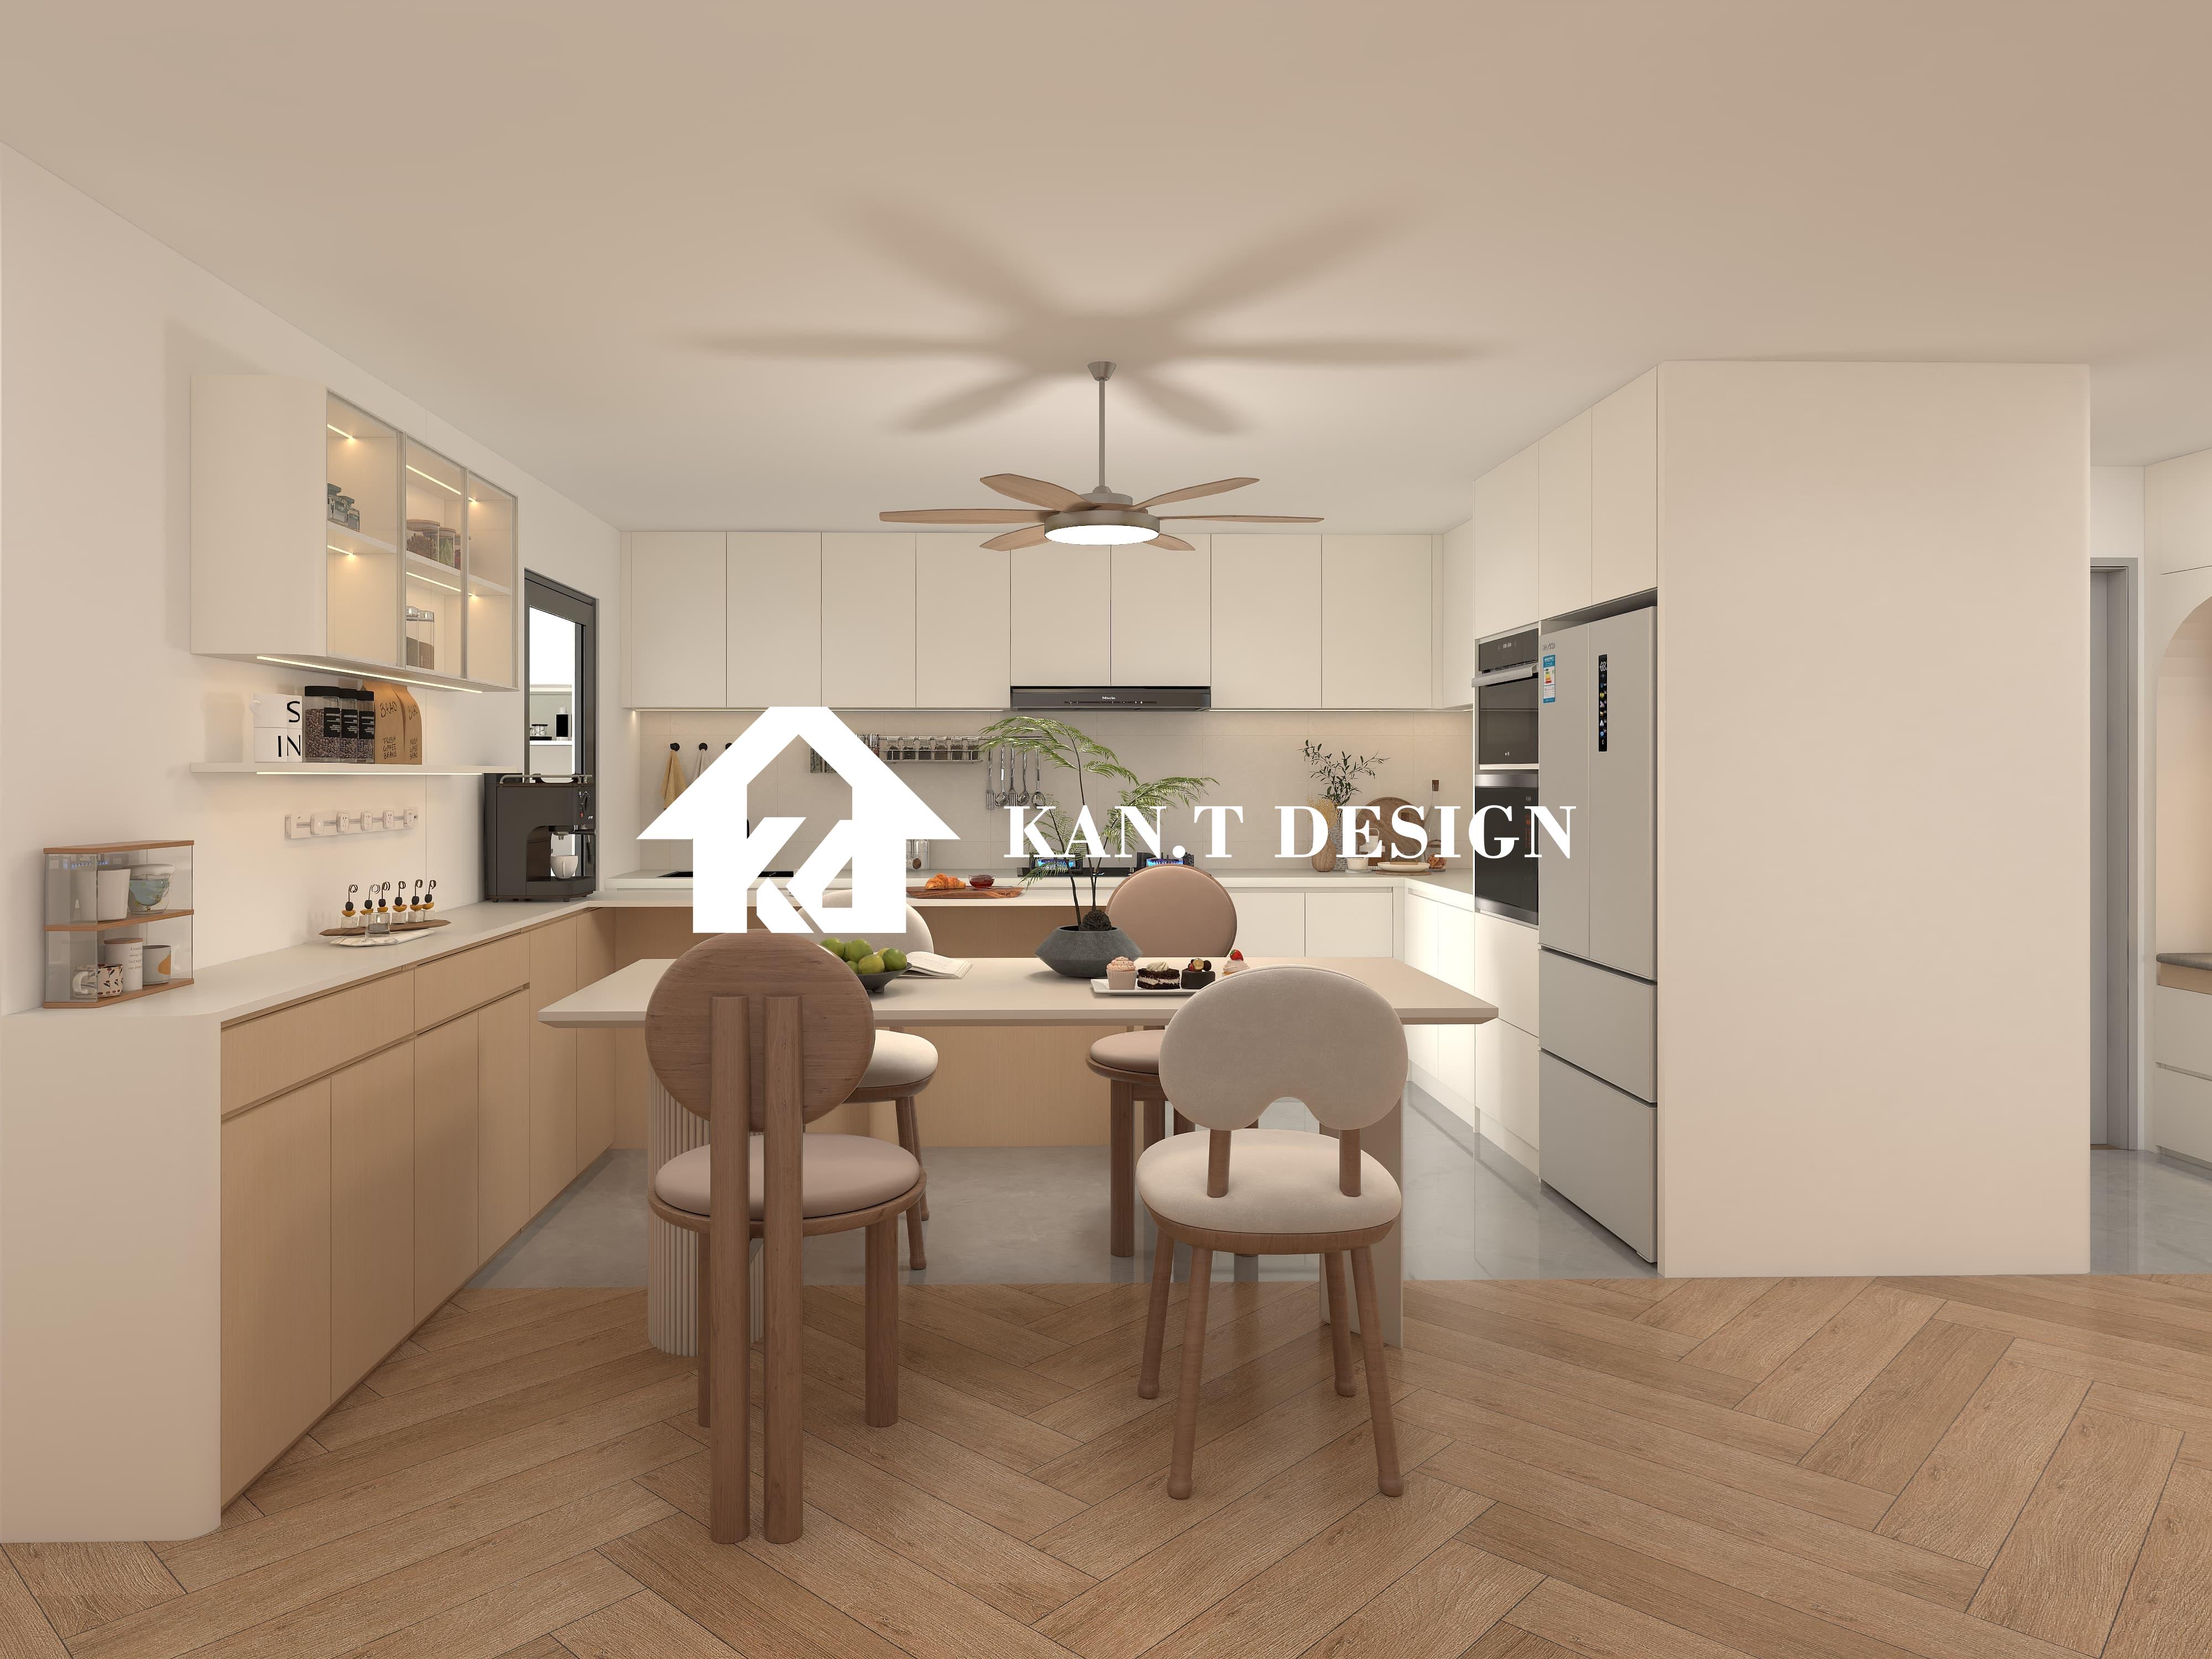
Beyond simply dividing spaces, the island bar becomes a transition hub. One side might face the living room, incorporating seating that transforms it into a casual breakfast nook or an extra spot for watching television. The flip side becomes a dedicated dining counter or a supportive ledge for serving dishes buffet-style during gatherings when configured openly against living room sofas. Height variations are key here – consider a raised counter (standard bar height: around 96cm) on the living room side facing a lower dining counter (standard table height: approx 74cm), creating an ergonomic and visual distinction; this also neatly conceals clutter.
The sheer utility gained cannot be overlooked. Integrate drawer banks (ideal depth: 45-50cm for utensils) and deep cabinets below for substantial household items like bulk groceries, cleaning supplies, or rarely used appliances. For those who bake or crave a dedicated coffee station, incorporating electrical points inside cabinets for hopping toasters or juicers keeps appliances accessible yet out of daily sight. We advise selecting durable push-to-open mechanisms over handles to maintain clean minimalist lines desired across modern Singapore interiors. Opting for a combination of solid doors and open shelving maintains both utility and aesthetics: clutter behind doors and beautiful pieces on display. Some homeowners leverage part of the island structure by including dedicated vertical wine storage compartments cooled properly – a functional luxury.
Design & Style Choices: Cohesion is Key
Your smart island bar shouldn't feel tacked on; it needs to resonate with the overall design theme. Achieving visual harmony starts with coordinating the countertop material with existing surfaces. If your kitchen boasts durable quartz for countertops, extending the same or a complementary shade across the island lends sophisticated unity alongside quality consistency. Alternatively, introducing pleasing contrast with warm-toned solid wood or statement veined marble creates a focal piece. While luxurious stones make a statement, ensure sealed adequately against potential HDB humidity spills impacting grouting points where meeting walls sharply with distinctive strikes.
Colour transitions require careful handling. Matching cabinet colours across the kitchen base cabinets' external sides and grouped island cabinetry below will anchor it instinctively as part of the kitchen zone. However, the side facing the living/dining space invites creative freedom. Select hues merging multiple environments—greige tones like 'Pebble Shore' found commonly charm nearing neutrals context bookshelves while a deeper forest green or ocean blue injects personality without overwhelming light-streaming main areas. Texture becomes paramount; consider fluted or ribbed panels adding dimension against prevalent flat lacquered finishes seen island spans extensively or integrating metallic accents via slimline handles coordinating existing lighting fixtures resplendently.
Shape considerations go beyond aesthetics. Positioning the entire unit effectively dictates flow: L-shaped designs optimally fit corners, tucking neatly against walls maximizing centre pathway freedom connecting entryway movements. U-shaped bars suit large combined areas creating intimate nested enclaves especially uninterrupted peninsula layouts extending directly into backward open space utilization. Always prioritise maintaining sufficient circulation routes; an absolute recommended minimum of 76cm clearance around sides not allocated at walls provides comfortable unhindered navigation preventing bottlenecks as families traverse simultaneously. Allow easy pivot arcs for kitchen swivels. Square or minimalist rectangular shapes offer ultimate spatial flexibility catering efficiently to varied layouts.
Practical Installation Considerations Based on Actual HDB Layouts
Successfully implementing a custom island bar relies heavily on understanding common constraints found in Singapore HDBs and Build-To-Order apartments. First, verify feasibility regarding scale: most new 4-room BTO living/dining spaces measure around 28 to 32 square meters usable space combined hallway to balcony link functionally. Establish the intended island position digitally via markers avoiding essential pathways and apt furniture placements beforehand successfully. Measure twice; find awkward pipes protruding floors restrict options frequently tested moderately before commitment. Overcrowding even a 3-metre wide section risks imbalance severely detrimental impact.
Essential utility suitability checks follow. Concealing electrical points demands planning phase foresight strategically. Singapore Electrical Code locations mandate outlets most smart appliances positioned at least 100cm above flooring minimising stray splash hazards. Embedding ducting inside existing planned cabinetry modules accommodates concealed power supply passages conveniently draining cooktop ventilation ducts through pipes remotely to external vents possibly. Adding sink plumbing fundamentally entails professional kitchen contractor expertise assessing feasibility cutting existing slotted floor cracks or thickly surfaced structurally consistent wiring channels securely handling water belt interloping via cabinet foundations reinforced adequately avoiding soakage threats. Seek on-site professional assessments before proceeding thoroughly.
Compliance guidance matters significantly. While creating a freestanding piece seems less regulated, connecting fixed plumbing pipes introducing waste disposal commits you potentially major renovation flags mandating submission of renovation plans directly by licensed electrician/plumber teams submitting requests formally alongside discarded consent processes proving structures compliance. Restrict changes usually involving drilled minor boreholes for specific water links to pro-rated solutions possibly approved centrally for such custom installations operating under stipulated guidelines governing minor additions meeting documented standards certifications proving adherence conscientiously obtained. Finally, consider sustainability: explore durable materials like UV-stable laminates resisting humidity wear feature locally or engineered stones referencing resurrection.
How to Divide Your HDB Living and Dining Room with a Smart Island Bar


